
SET THE CAMERA. WATCH THE GAME.
How to Film a Hockey Goalie with an iPad or iPhone
Get the whole play in view.
A practical guide to setting up an iPad or iPhone behind the net, choosing the view, and checking power, storage and remote capture before a game.
Start with the device you have
Use a supported iPad or iPhone as the camera. A second iPhone can act as your remote, and an Apple Watch can send capture taps through its paired iPhone. You do not need to buy an iPad Pro to try the workflow.
Mount behind the net, with permission
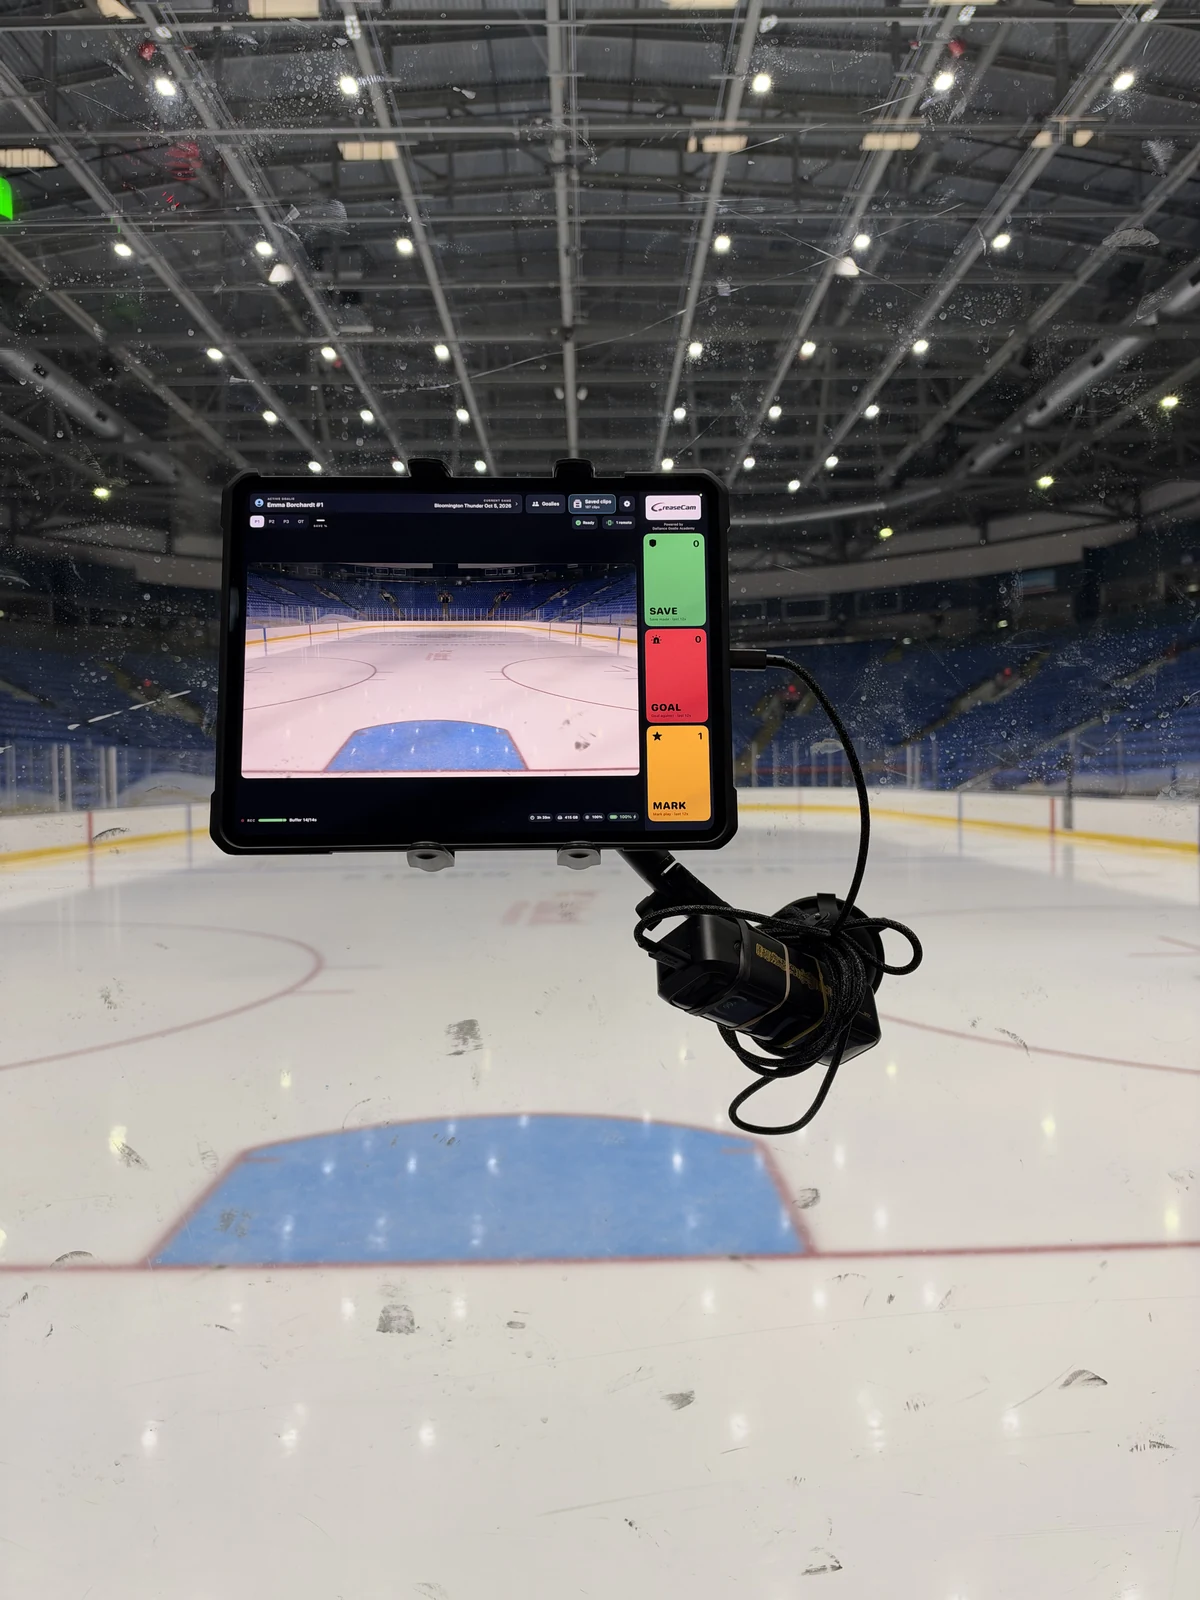
Check the rink’s rules and ask before attaching equipment to the glass. Place the camera safely behind the net where it will not obstruct spectators, players or staff. Use a secure mount suited to the device and case; follow its instructions and use a tether where appropriate.
Frame the crease and the approach
Check the actual camera view before the game. Include the net, crease and enough of the approach to see how the play develops. Watch for glare, reflections and blocked sightlines. A close crop may hide the passing play you want to review later.
Check power and storage
Charge the camera, confirm available storage and secure cables away from walkways. Keep CreaseCam open on the camera during recording. Let its rolling buffer fill before the first capture.
Test from your seat
Pair the remote and make a test capture before warm-up ends. Tap after a play, wait for the camera’s saved confirmation, then open the replay. Connection range and interference vary by rink; test from the seat you will actually use.
Capture after the moment
By default, CreaseCam saves 20 seconds before your tap and 3 seconds after; these settings are adjustable. Remote captures include extra lead-up. A tap cannot recover footage from before the camera started or outside its retained buffer.